Embed your chart on your website
Learn how to embed a Datapicta chart on popular platforms.
Of course you want to share your beautiful charts with the world. Luckily, DataPicta makes it easy to embed your charts on your website—usually, it's a simple copy-paste job. Below, you'll find instructions for some popular platforms. If you're using a different platform and need help, please reach out to us on our contact page.
Within DataPicta, you need to go to the chart you want to embed and click on the Publish button. After a few seconds, you will see the embed code. Just copy this code to your clipboard and insert it on your web platform, usually by pasting it into an HTML or embed block, different platforms have different names for this. Below are instructions for some popular platforms.
Web platforms
Wix
- Login to your Wix dashboard.
- Go to the page where you want to embed the chart.
- Click on the Add button (the plus icon).
- Select HTML Code from the menu.
- Click Edit HTML
- Paste the embed code you copied from DataPicta into the HTML editor.
- Click on Save.
- You may want to adjust the size or alignment of the HTML box.
- If everything looks good, click on Publish to publish your changes.
SquareSpace
- Login to your SquareSpace dashboard.
- Go to the page where you want to embed the chart.
- Click on the Edit button.
- Click on the + Block button to add a new block.
- Search for Embed and select it.
- Double-click on the Embed block to open the settings.
- In the Embed block settings, choose for Embed as Code Snippet.
- Click on Embed data
- Paste the embed code you copied from DataPicta into the code editor.
- Your chart appears in the preview.
- Click Back to return to the page editor.
- If everything looks good, click on Save to save your changes.
Shopify
- Login to your Shopify Admin site.
- Go to the page or blog where you want to embed the chart.
- In the content editor, click on the Show HTML button (it looks like
</>). - Paste the embed code you copied from DataPicta into the HTML editor.
- Click on the Show HTML button again to return to the visual editor.
- If everything looks good, click on Save to save your changes.
WordPress
- Login to your WordPress admin panel.
- Click on All Posts or All Pages.
- Find the post or page you want to edit and click on it.
- Type / to add a new block.
- Search for Custom HTML and select it.
- Paste the embed code you copied from DataPicta into the Custom HTML block.
- Click on Preview to see how it looks.
- If everything looks good, click on Save to save your changes.
Drupal
- Login to your Drupal admin panel.
- Go to the page or article where you want to embed the chart.
- Click on Edit.
- Just below the content editor, click on the Text Format dropdown and select Full HTML.
- Click on the Source button in the content editor toolbar.
- Paste the embed code you copied from DataPicta into the source editor.
- Click on the Source button again to return to the visual editor.
- If everything looks good, click on Save to save your changes.
Medium
Medium does not support embedding custom HTML code directly. However, they do support the oEmbed protocol. That means you only need to provide an embed URL. In Datapicta, after clicking the Publish button, copy the Embed URL instead of the embed code. In Medium you can then simply paste this URL into your article, and Medium will automatically convert it into an embedded chart.
Enterprise platforms
NOTE: A published chart is publicly accessible by anyone with the link, not just people within your organization. If you need to restrict access to your charts, please contact us about our enterprise plans.
Notion
Notion does not support embedding custom HTML code directly. However, Notion does support the oEmbed protocol. That means you only need to provide an embed URL. In Datapicta, after clicking the Publish button, copy the Embed URL instead of the embed code. In Notion, type /embed and then paste the URL into the popup. Notion will automatically convert it into an embedded chart.
Sharepoint
You can embed DataPicta charts in SharePoint after the sharepoint administrator has approved datapicta as a trusted party for embeds. Once that is done, you can use the Embed web part to add the embed code from DataPicta.
Approve domain
The administrator needs to go to the SharePoint site settings and click HTML Field Security, then add cdn.datapicta.com to the list of allowed domains. Instead of configuring this at the site level, it can also be configured at the tenant level to allow embedding on all SharePoint sites within the organization.
Add Embed web part
- Go to the SharePoint page where you want to embed the chart.
- Click on Edit.
- Click on the + button to add a new web part.
- Search for Embed and select it.
- In the Embed web part settings, choose for Embed code.
- Paste the embed code you copied from DataPicta into the code editor*.
- Your chart appears in the preview.
- If everything looks good, click on Republish to publish your chart.
* If you see an error message you might need to remove the height and width from the style tag (not the height and width tags itself), although the error message suggests something else this solved the issue in our tests.
Social media platforms
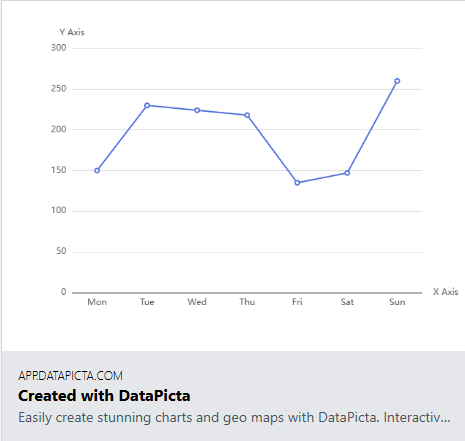
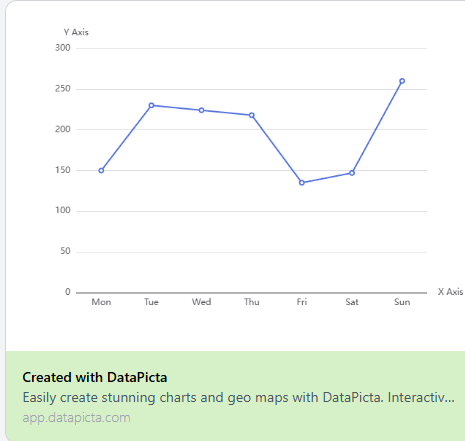
Social media platforms do not support embedding custom HTML, however most of them do support the Open Graph protocol. This means that if you share the social media link of your published chart, the platform will automatically generate a preview with a thumbnail image of your chart.
X/Twitter
Discord